
Add a screen
New screen in Tessera installs the software on a screen. It takes three steps, Screen, Set up and Install, and you go through them once per screen. Afterwards the screen gets its tiles and its updates over Wi-Fi, and the cable can go back in the drawer.
Setting up several screens? Plug in one at a time, and give each one its own name.
One wizard per screen
Never run New screen again for a screen you already have. It gets new keys, and Home Assistant sees a stranger. To update a screen, use its own Update button; see Updates.
Before you start
- Plug the screen in with a USB cable that carries data. Into the machine that runs Home Assistant, or into the computer you are using now.
- Know which board you have. Screens that look alike can have different parts inside. The model is printed on the board or its box; Supported screens shows what to look for.
1. Screen
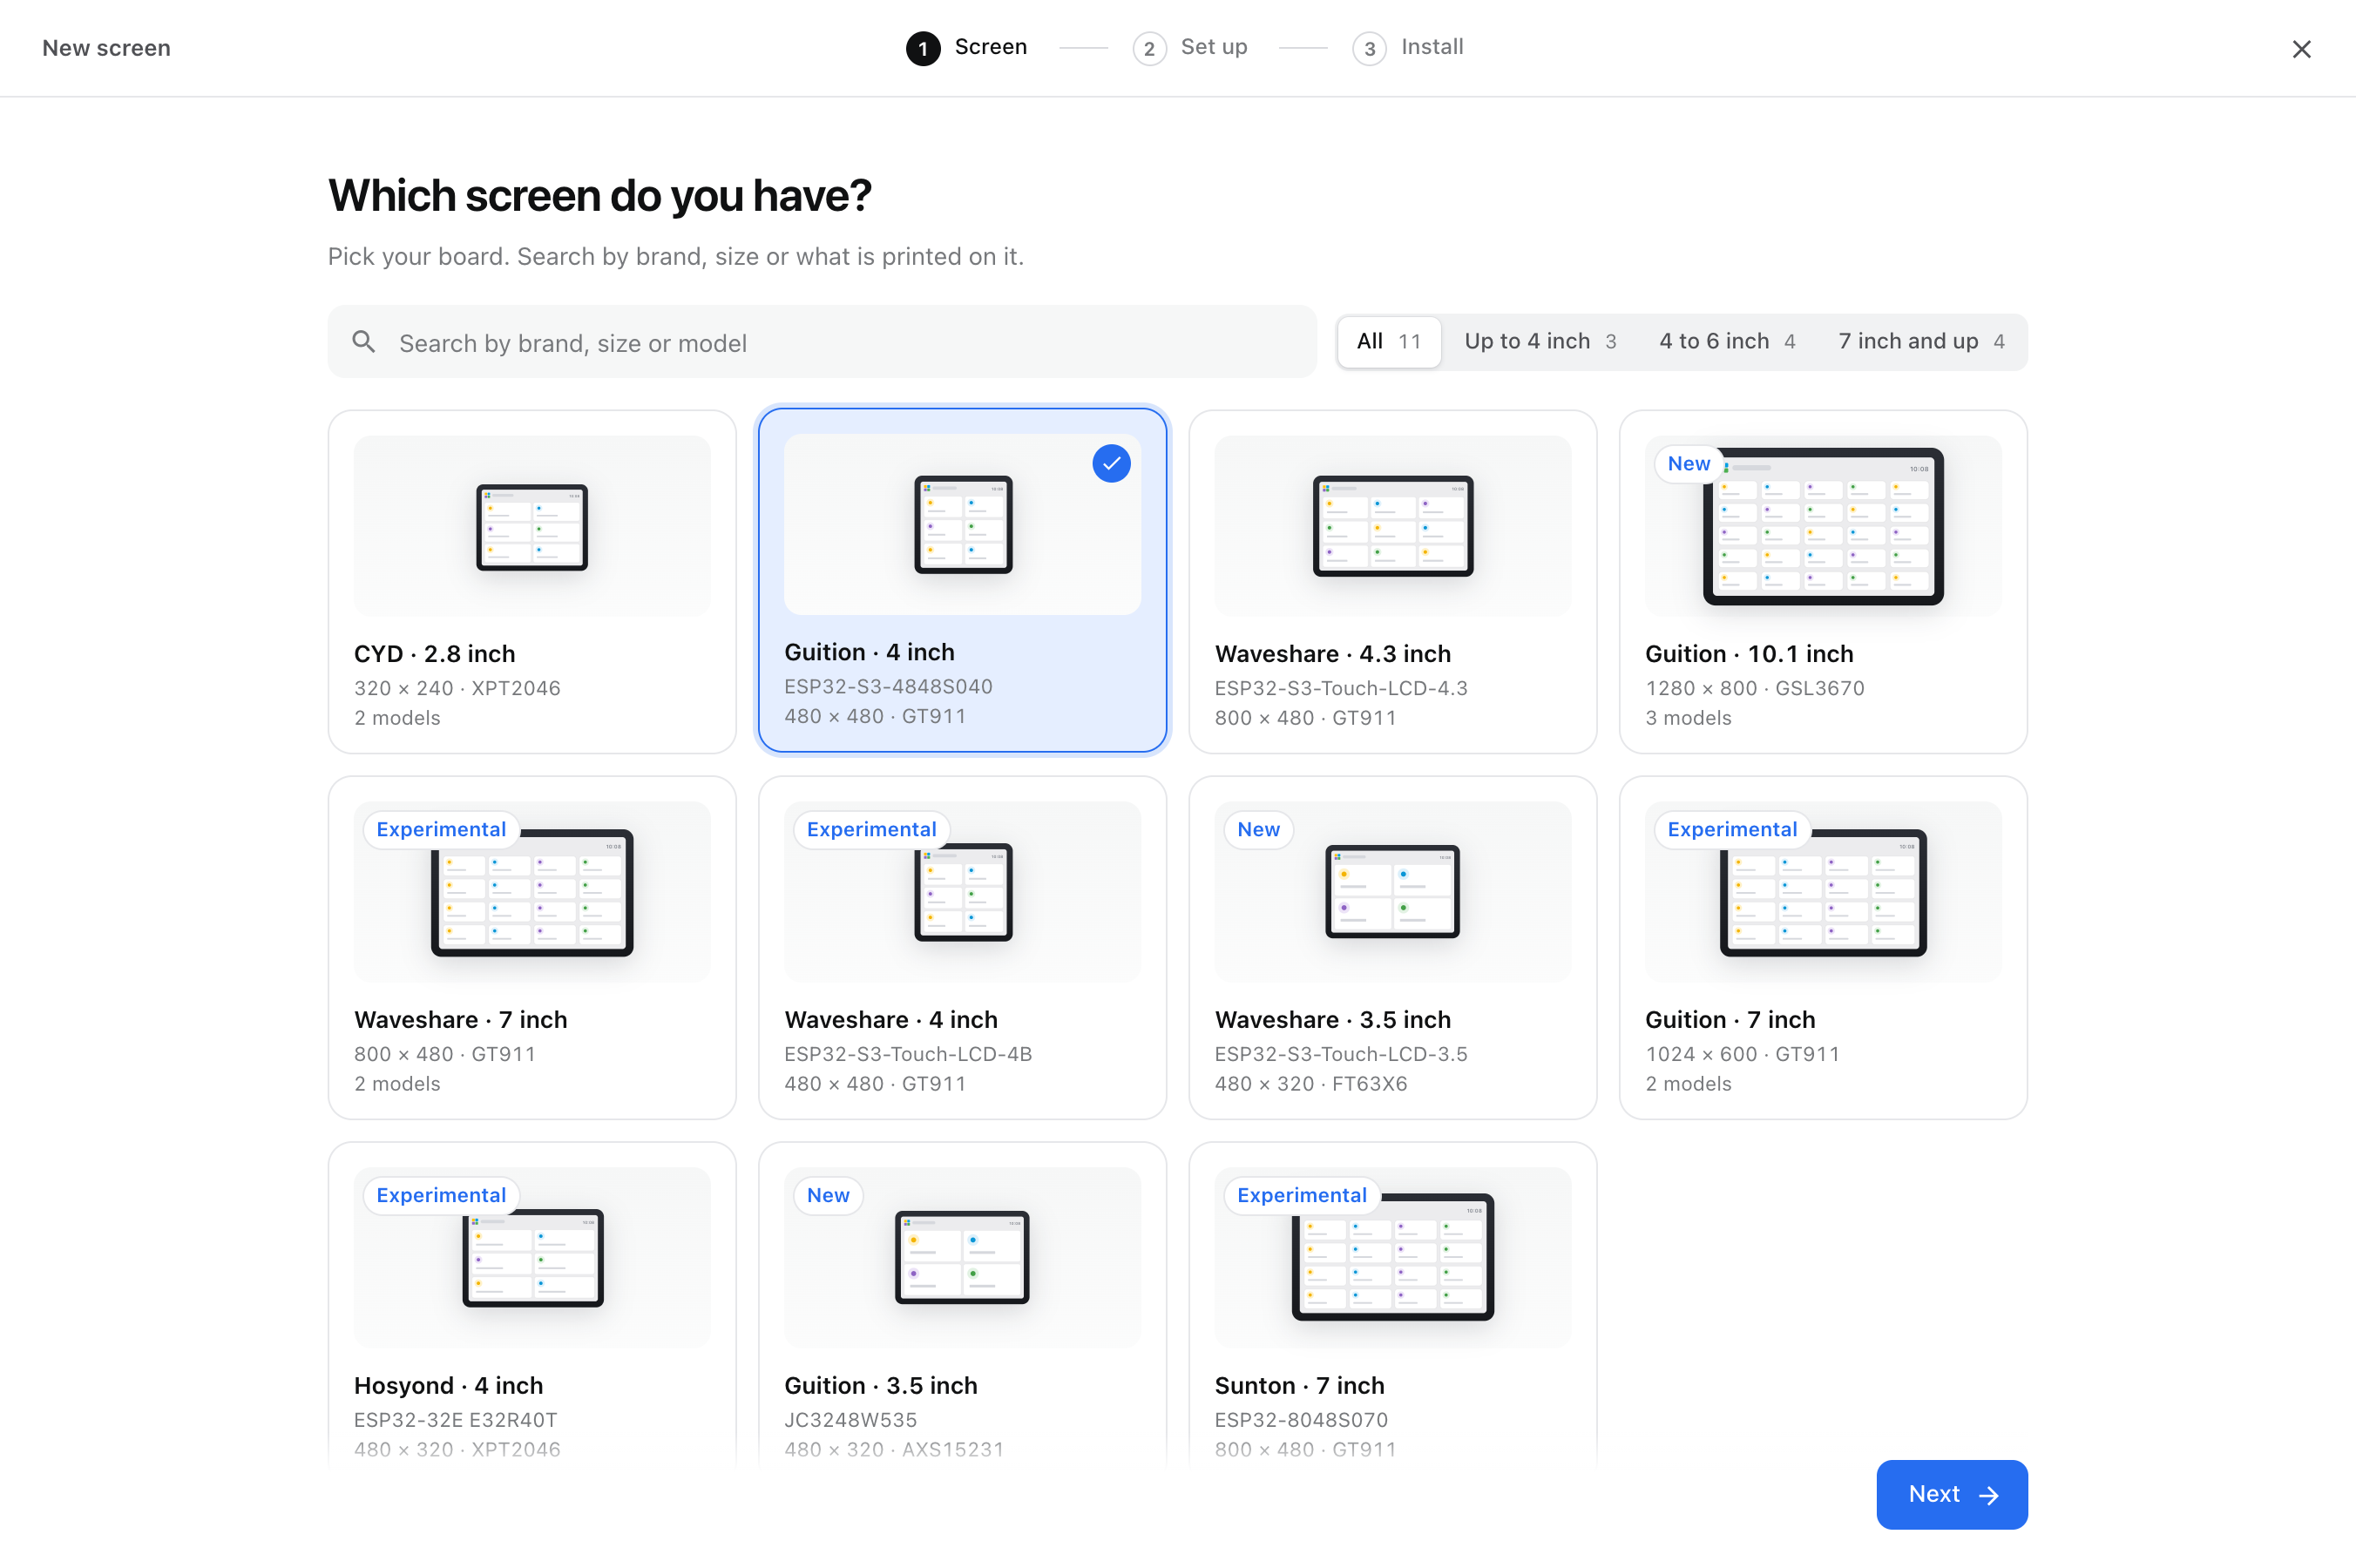
Click New screen. Under Which screen do you have?, pick your board. Search by brand, size or what is printed on it, or narrow the list by size. Boards marked New or Experimental work, but fewer people have tried them; the screens pages say what that means. Click Next.
2. Set up
- Name. For example
Kitchen screen. Every screen needs its own name. It becomes the device name in Home Assistant and the name in the screen's top bar. - Which way will it hang? Only for boards that can hang both ways: Lying down or Standing up. You can't change this later without installing the screen again.
- Display controller. Only on a CYD. Most CYDs have the first one. If the screen later shows noise or a garbled picture, install again and take the other one.
- Wi-Fi. The first time only, type the name and password of your 2.4 GHz network. Tessera saves them in ESPHome's
secrets.yaml, and every later screen uses them by itself.
Click Next.
3. Install
Under How do you want to install it? you choose where the screen is plugged in.
USB on Home Assistant
The screen hangs on the machine that runs Home Assistant. The port Tessera found has a green light. Choose it and click Install.
You see the steps of the install, each with how far it is: getting ready, building the firmware, putting it on the screen and starting up. Show details opens the log. You can close the window; the install keeps running.
From this computer
The screen hangs on the computer you are using now, and your browser writes the firmware to it. Handy when Home Assistant runs in a closet, on a server or in a virtual machine without USB.
This needs Chrome or Edge on a computer, with Tessera opened over https, for example your Home Assistant Cloud address. Other browsers, phones and plain http:// addresses can't reach USB; the option then says so and stays off.
- Choose From this computer.
- Click Connect & install and choose the screen's port in the window your browser shows.
- Keep the tab open and the cable in until it is done.
You see "Connected", then the build on your Home Assistant machine, then a progress bar while the page writes the firmware to the screen. The screen restarts and joins your Wi-Fi.
Screen not in the port list? Use a cable that carries data, and install the driver for the board's USB chip (CP210x, CH340 or CH9102) if your computer needs one. The board doesn't answer? Hold its BOOT button while you choose the port, until the installation starts.
Download the file
No Chrome, no Edge, or no https? Choose Download the file and click Build & download. Install the file with ESPHome Web from Chrome or Edge on any computer. The file holds your Wi-Fi password and the screen's keys, so don't share it.
How long it takes
Building the firmware takes a few minutes on a PC, and 20 minutes or more on a Raspberry Pi, the first time especially. That is normal: the first build downloads and compiles everything, later builds reuse most of it. Putting the firmware on the screen takes a minute or two.
If something fails, the step it stopped in turns red, the log opens and you can click Retry. The first error in the log is the one that matters; Troubleshooting lists the common ones.
The first start
The screen shows the Tessera logo while it starts and connects to Wi-Fi. Until you add it to Home Assistant and give it tiles, it says Connecting to Home Assistant and then Choose tiles in HA.
When the install is done, the window shows the next steps, with the screen's key behind Show the API key. Carry on with Pair with Home Assistant.
Touch calibration on the CYD and the Hosyond
These two have a pressure-sensitive (resistive) touch panel that has to be measured once. On the first start the screen shows a crosshair:
- Tap the crosshair three times. Hold each tap briefly and lift your finger in between.
- Move on to the next crosshair. There are five; the last one, in the middle, checks the result.
- If a measurement fails, the screen asks you to start again.
The screen keeps the result, also through updates. To measure again later, use Calibrate touch in the screen's Screen settings tab. Every other screen has a capacitive panel and needs no calibration.