 tessera
Guition 5 inch
The JC8048W550C_I: 5 inch, 800 × 480 lying down, with an ESP32-S3.
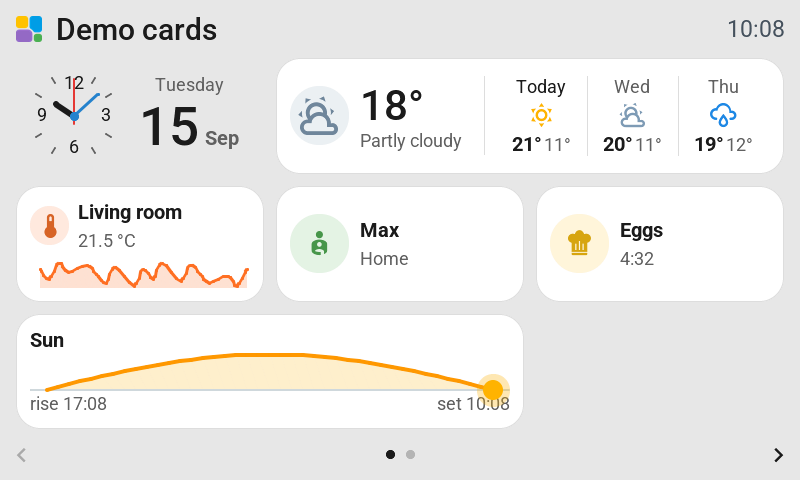
| Touch | Capacitive (GT911) |
| Backlight | Dims; standby and night mode |
| Capabilities | Camera pictures and album covers |
The suggested grid can be changed after installation with Grid in the editor. See Change the grid.
Check the model
Only the capacitive JC8048W550C_I is covered. The JC8048W550N_I without touch and the resistive JC8048W550R_I need different profiles. Picture, touch, brightness and the Home Assistant connection have been tried by the contributor. A full project hardware review is still pending.
Set up
Update Tessera Screen Manager and choose JC8048W550C_I under New screen. Follow Add a screen for the USB installation. Once it joins Wi-Fi, Tessera adds it to Home Assistant automatically.
The default landscape grid is 3 columns and 3 rows. Change the grid in the editor to suit your layout.
See Cameras and pictures for viewing Home Assistant cameras. See Plugins, Assist and screen hardware for the audio and camera features available on each model.