 tessera
Seeed reTerminal D1001
The reTerminal D1001: 8 inch, 1280 × 800 lying down, with an ESP32-P4.
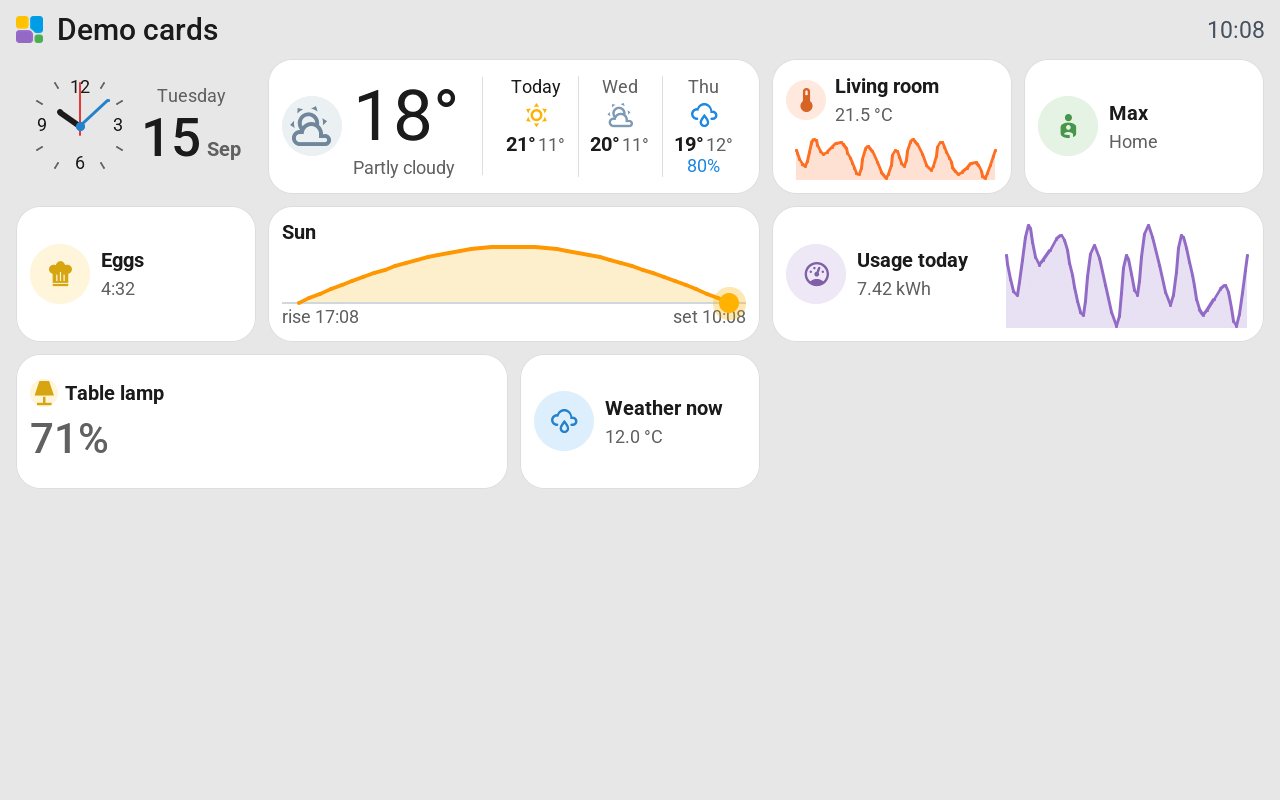
| Touch | Capacitive (GSL3670) |
| Backlight | Dims; standby and night mode |
| Capabilities | Camera pictures and album covers; live camera viewing; speaker and media player; Assist via plugin; built-in camera via plugin |
The suggested grid can be changed after installation with Grid in the editor. See Change the grid.
Check the model
An 8-inch battery-powered panel. The display, touch, Wi-Fi, battery, standby button, RGB LED, clock, speaker, Assist and camera plugin have been tried on a physical board. SD card, LTE and LoRa are not configured.
Wake when moved under Extras is off by default. Switching it on wakes the screen when the board itself moves, such as when you pick it up. It does not detect someone walking past. The clock keeps time while Home Assistant is unavailable.
Set up
Update Tessera Screen Manager and choose reTerminal D1001 under New screen. Follow Add a screen for the USB installation. Once it joins Wi-Fi, Tessera adds it to Home Assistant automatically.
The default landscape grid is 5 columns and 5 rows. Change the grid in the editor to suit your layout.
See Cameras and pictures for viewing Home Assistant cameras. See Plugins, Assist and screen hardware for the audio and camera features available on each model.