 tessera
Waveshare P4 86 panel
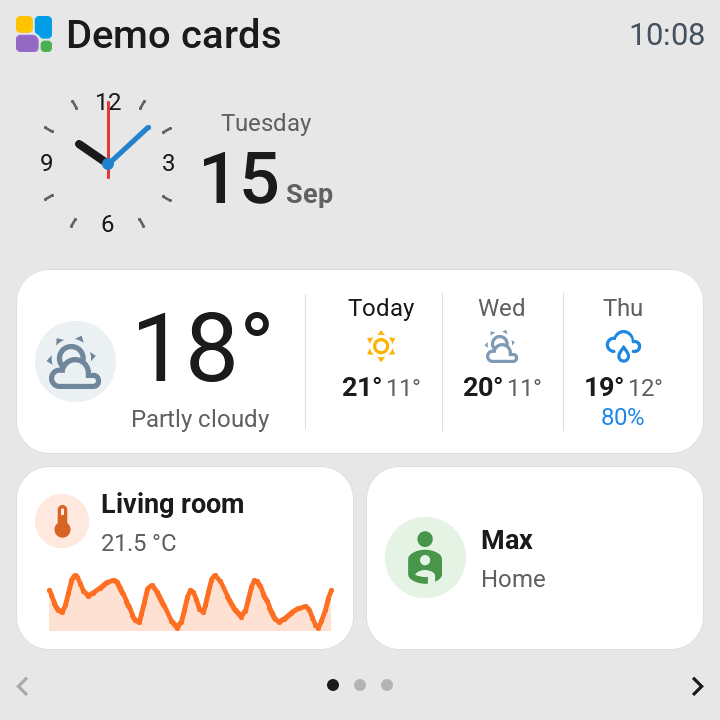
The ESP32-P4-86-Panel-ETH-2RO: 4 inch, 720 × 720 lying down, with an ESP32-P4.
| Touch | Capacitive (GT911) |
| Backlight | Dims; standby and night mode |
| Capabilities | Camera pictures and album covers; live camera viewing; speaker and media player; Assist via plugin |
| Status | Experimental |
Check the model
This is the ESP32-P4-86-Panel-ETH-2RO, SKU 31570. It is different from the ESP32-S3-Touch-LCD-4B. A contributor has also run this profile on the P4-WIFI6-Touch-LCD-4B. The profile uses Wi-Fi. Ethernet, relays, RS485 and microSD are not configured. Audio support is implemented but still needs confirmation on the hardware.
Use the USB TO UART port for installation. The profile targets P4 silicon before revision 3. If the USB log reports v3.0 or newer, the board needs engineering_sample: false under esp32: in Override YAML.
Set up
Update Tessera Screen Manager and choose ESP32-P4-86-Panel-ETH-2RO under New screen. Follow Add a screen for the USB installation. Once it joins Wi-Fi, Tessera adds it to Home Assistant automatically.
The default landscape grid is 2 columns and 3 rows. Change the grid in the editor to suit your layout.
See Cameras and pictures for viewing Home Assistant cameras. See Plugins, Assist and screen hardware for the audio and camera features available on each model.