 tessera
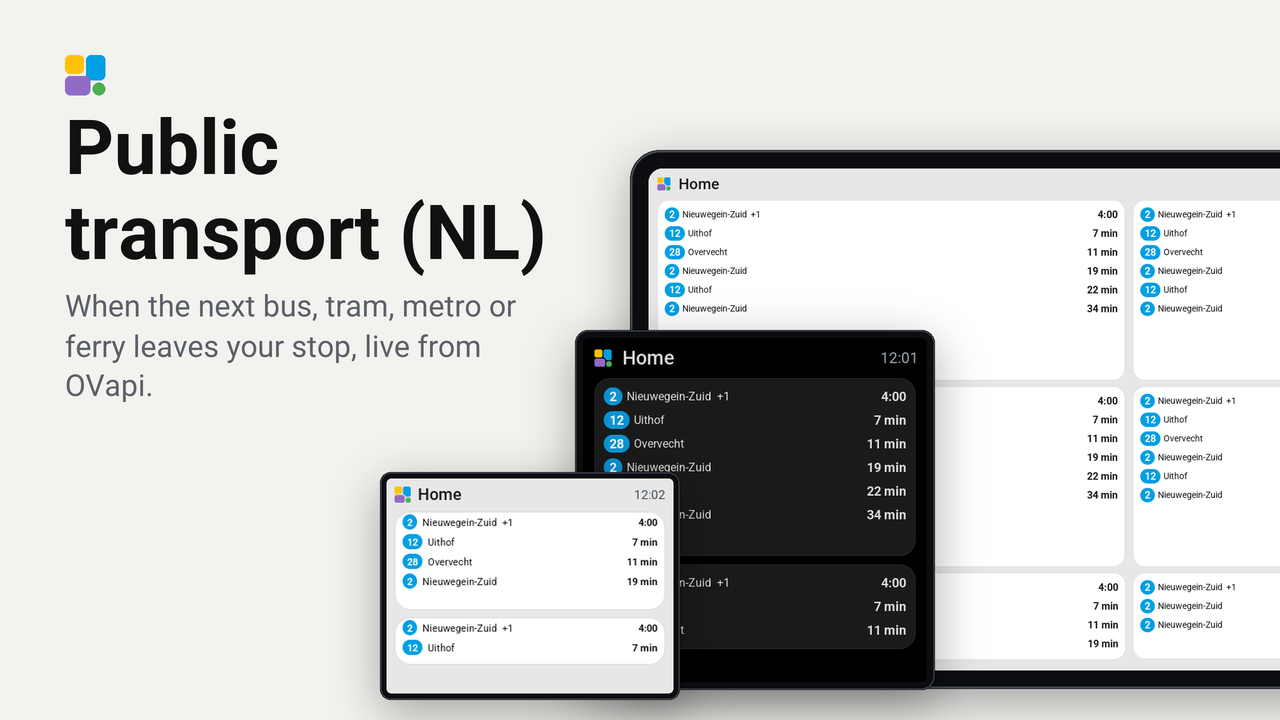
Public transport (NL)
When the next bus, tram, metro or ferry leaves your stop, live from OVapi.
About this plugin

Made for Home Assistant.
Tessera turns affordable ESP32 touch screens into Home Assistant control panels. Set up a screen over USB, then arrange its tiles in the drag-and-drop editor. Built with ESPHome.
Free and open source. No subscription. Available in 9 languages.
Start with the biggest: 10.1 inches of your home, with music, cameras, heating, lights and scenes together. Make a full overview or give a few favourite controls more space.
Try arranging your own tilesEight rows, with wide music and camera tiles alongside smaller controls. Each tile can take the space it needs.
Solar, battery and grid power, with room for the rest of the house. Shown in dark mode.
Explore this screenA wide layout on the M5Stack Tab5. Choose the tiles you want to keep together.
Explore this screenCamera, lock and porch light on one page.
Explore this screenAlbum artwork, playback and a lamp dimmer on a square screen.
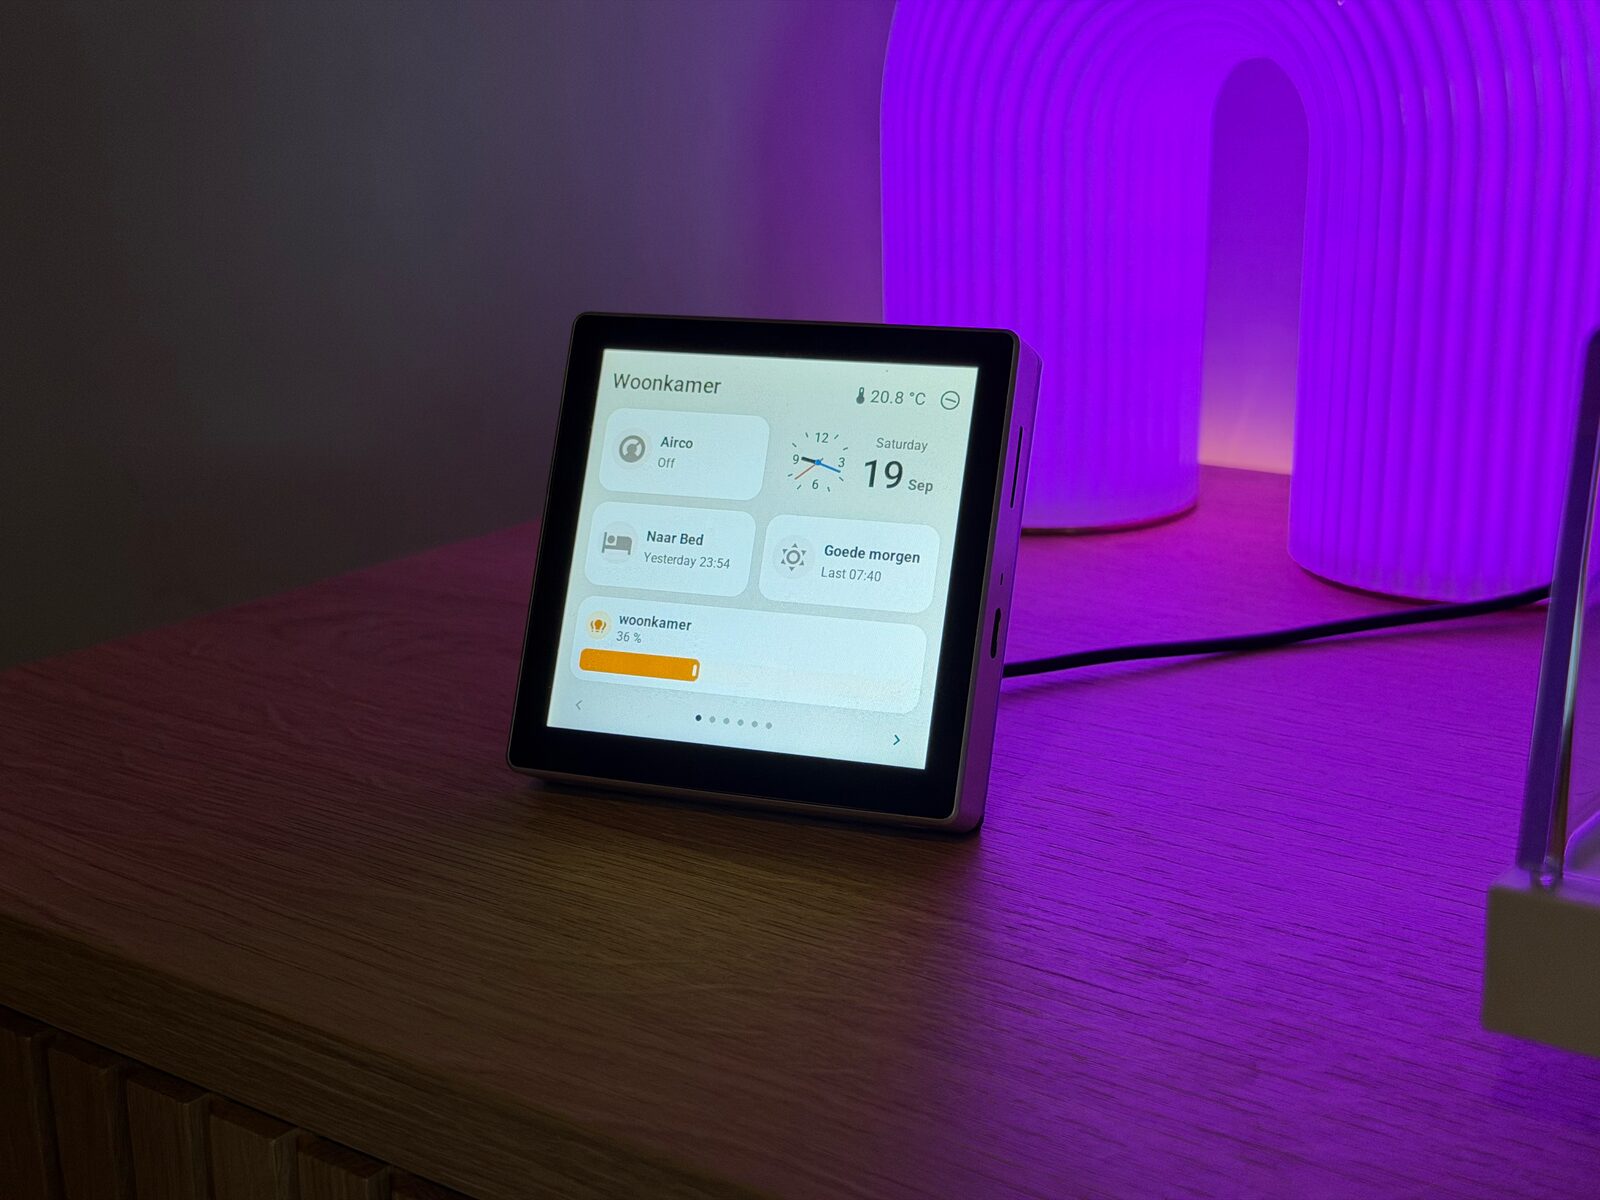
Explore this screenA compact landscape screen for the controls you use every day.
Explore this screenWeather, a timer, coffee and lighting on the CYD.
Explore this screenReal firmware renders with demonstration data. Tap an image to enlarge it. Images are not to physical scale. Features and support vary by board; camera pictures require a supported panel.
The next screen goes the same way. From then on, everything travels over Wi-Fi.
Follow the installation guidePick a screen, find the lights and devices you want, and drag them onto a page. Move a tile, resize it, give it a colour. Save & send, and the screen shows it.
Kitchen, hallway and bedroom each keep their own pages, all from the same place.
How pages and tiles workThis is the editor from Tessera itself, with three example screens in a fictional home. Add a tile, resize it, change its colour or the top bar, and send it to the screen.
Browser demo. Nothing connects to your home, and your changes are gone when you leave. Installing screens, firmware and plugins are in the app itself.
Control your lights, set the heating or ask a question. Your Tessera screen listens and answers through Home Assistant Assist.
Requires a supported microphone and speaker, plus the Voice assistant plugin (dev app or local build).
See what is happening as it happens. ESP32-P4 screens now play live Home Assistant camera pictures, on a tile or full screen. Tap a camera to take a closer look.
On supported models, a built-in speaker plays the camera's sound in full screen too.
How live camera viewing worksLive viewing is available on supported ESP32-P4 profiles. Performance depends on your camera, network and Home Assistant host. The reTerminal D1001 and Tab5 can also share their own camera through the Screen camera plugin.
Add a tile, connect a service or use more of your screen's hardware.
When the next bus, tram, metro or ferry leaves your stop, live from OVapi.
About this plugin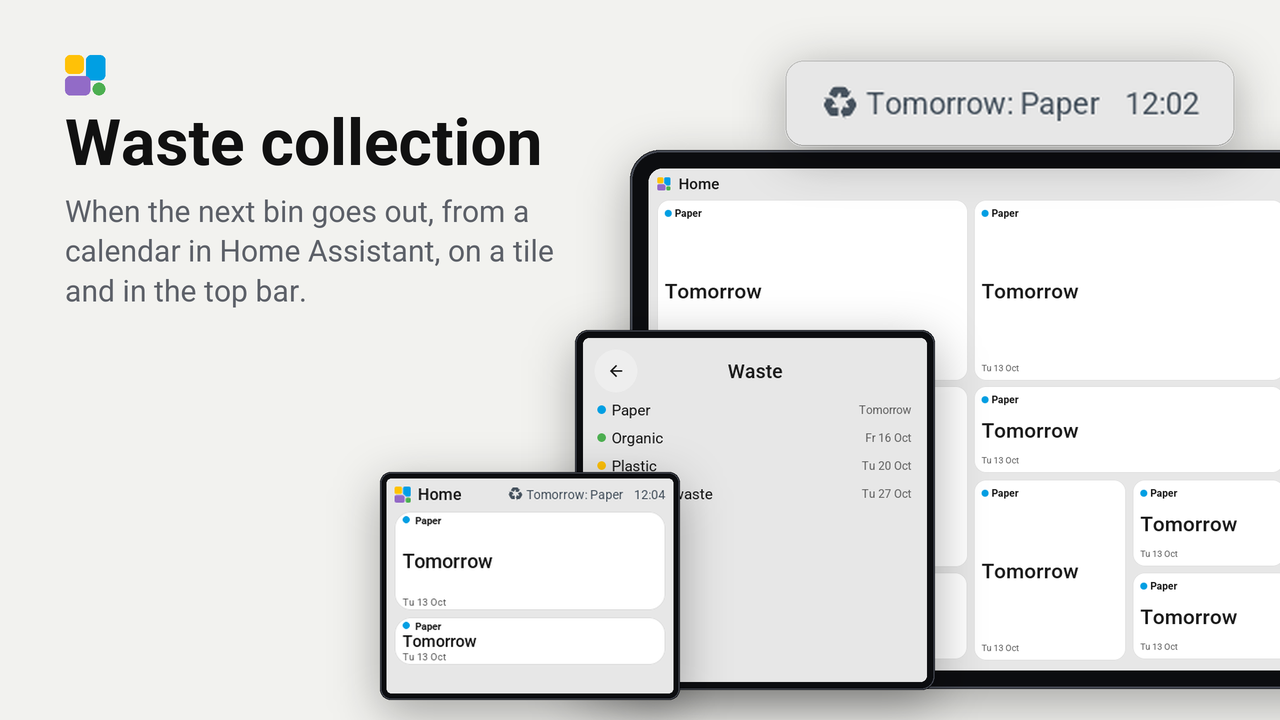
When the next bin goes out, from a calendar in Home Assistant, on a tile and in the top bar.
About this pluginMake something for your own home. Create and share a plugin.
Print a stand made for the screen you have. Each one is free on MakerWorld, with a ready Bambu Studio print profile and no supports.
Printed one? A like or a Boost on MakerWorld costs you nothing and helps keep Tessera free.
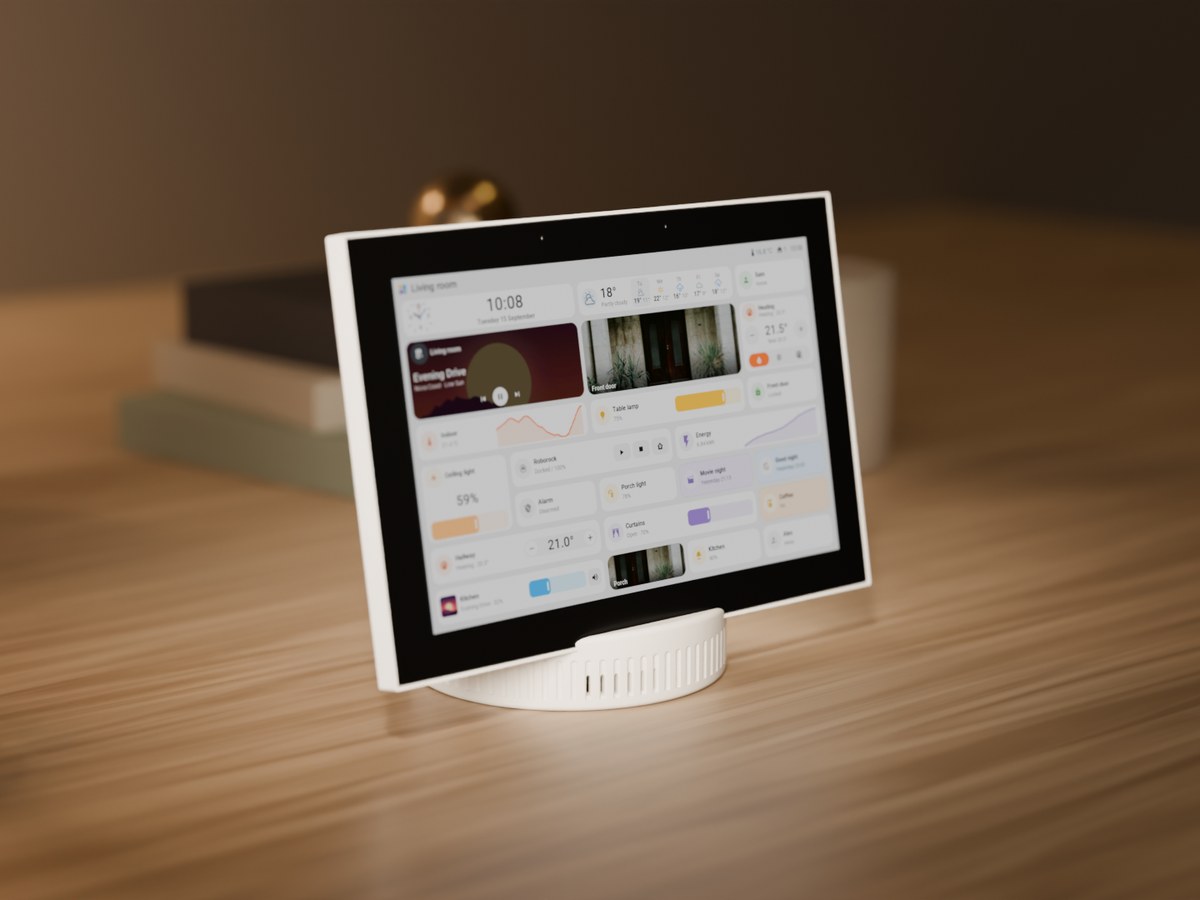
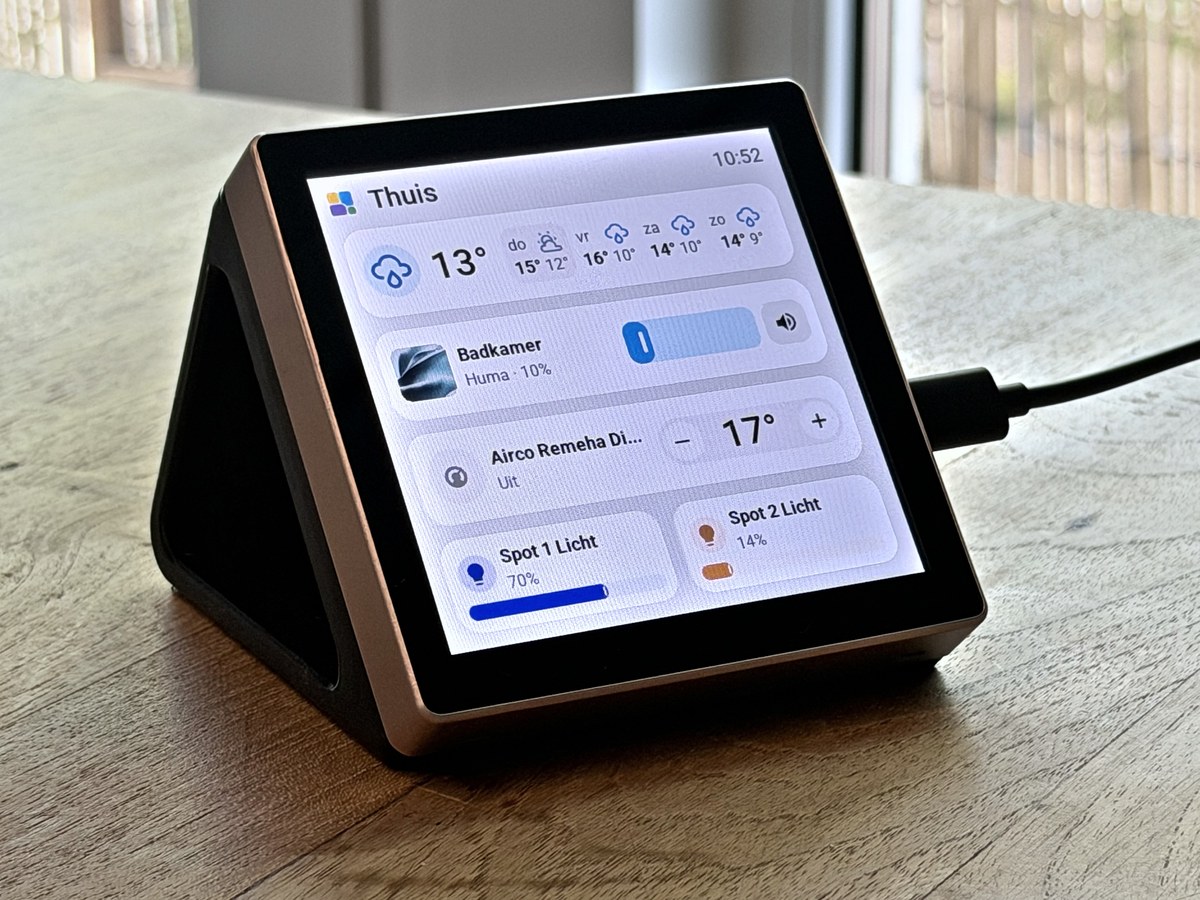
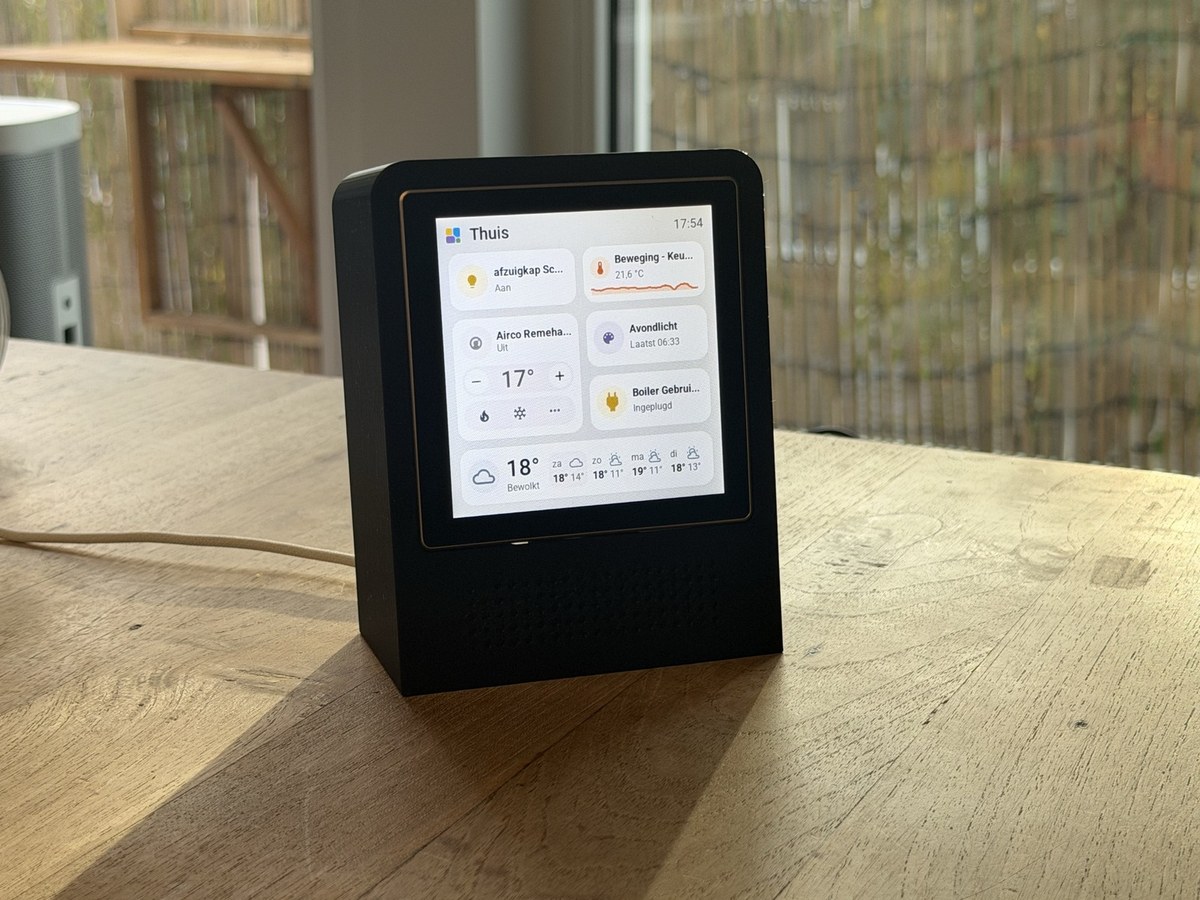
A light looks like a light, with a slider for its brightness. Tap to switch it, hold for more. Everyone at home finds their way.
Rendered from the screen firmware with demonstration data.
The energy card shows where your power comes from right now: solar, the grid and the battery around the house, with dots that run faster as more power flows, and the devices that use the most.
It reads the Energy settings you already have in Home Assistant, so there is nothing to set up. Tap a circle for its history. It fits every screen, from the CYD to the 10.1-inch.
How the energy card worksShow where a value stands as a ring with the tile's icon inside, a tape with one pointer on a ruler, or a bar of LCD cells that fills the tile. Each look fills the room it gets, from one cell to the whole page.
The range comes from Home Assistant or is your own. Keep the sensor's colour, choose one, or let two or three segments turn green, orange and red at thresholds in the sensor's own unit. New in the next release, on the dev channel now.
The manager runs on your own Home Assistant. The screens talk to it over your home network.
No Tessera server, no account, no subscription.
Installing and updating a screen downloads software. This website and its GitHub login are separate from your screens.
Screens and editor speak nine languages, with US and UK English. Time and number formats follow the language you choose.
A word without a translation shows in English.
From 2.8 inches beside the sofa to 10.1 inches by the door, all in the same editor. You bring the screen and Home Assistant. The software is free.
Compare supported screens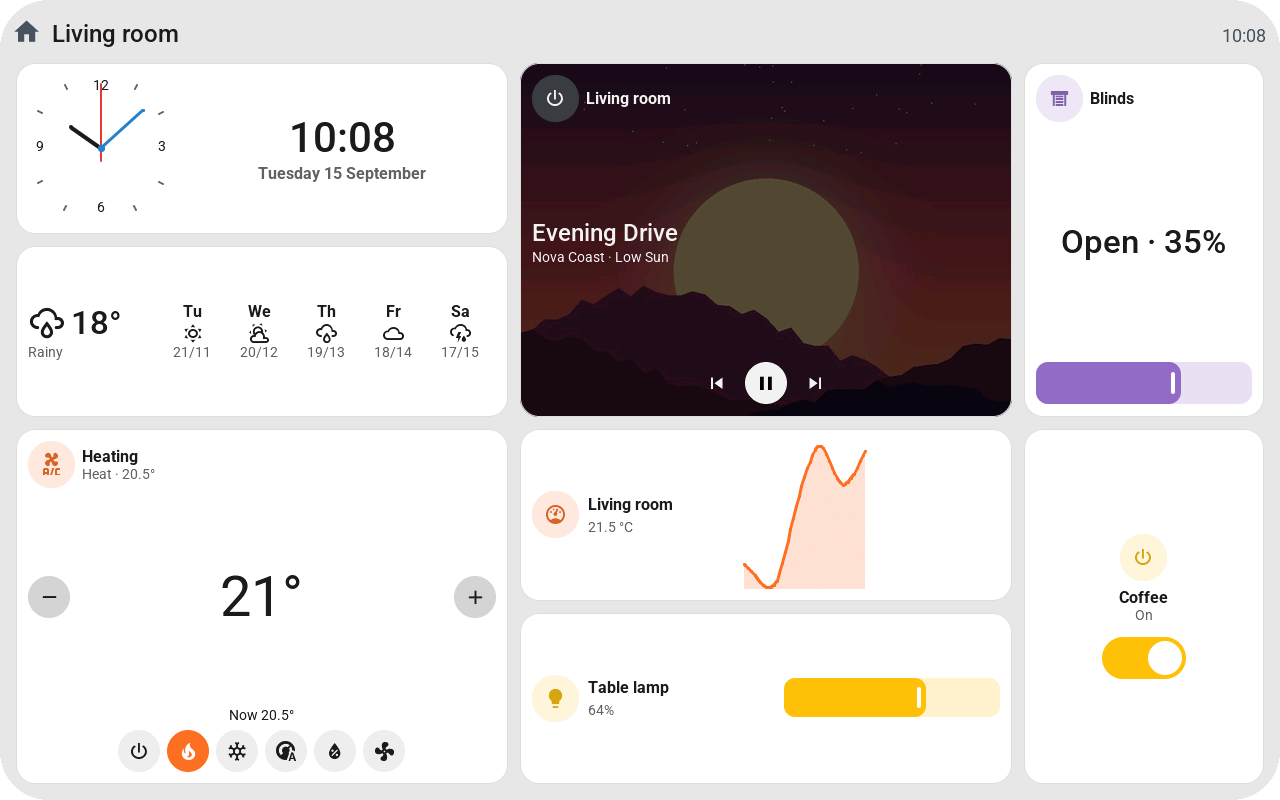
10.1 inches
Live camera viewing
49 positive experiences19 experiences with problems
Shared voluntarily from the add-on. About these experiences
Max, a maker with an eye for design, leads Tessera’s development and maintenance, with contributions from the community. The aim is a screen that looks good and that the whole family uses without a thought for the technology behind it.
About the Tessera name and designFirmware and manager are free under the GNU AGPL v3. No subscription, no fee per screen. Read the code, report a problem or help improve it.
If you would like to help fund development, you can support Tessera.
The guide takes you from installing the manager to your first tiles.
Running Home Assistant Container? Use the Docker guide.